Notes on the decisions behind the things I design and build.
·Daybeat · Behind the scenes
Behind the Daybeat film
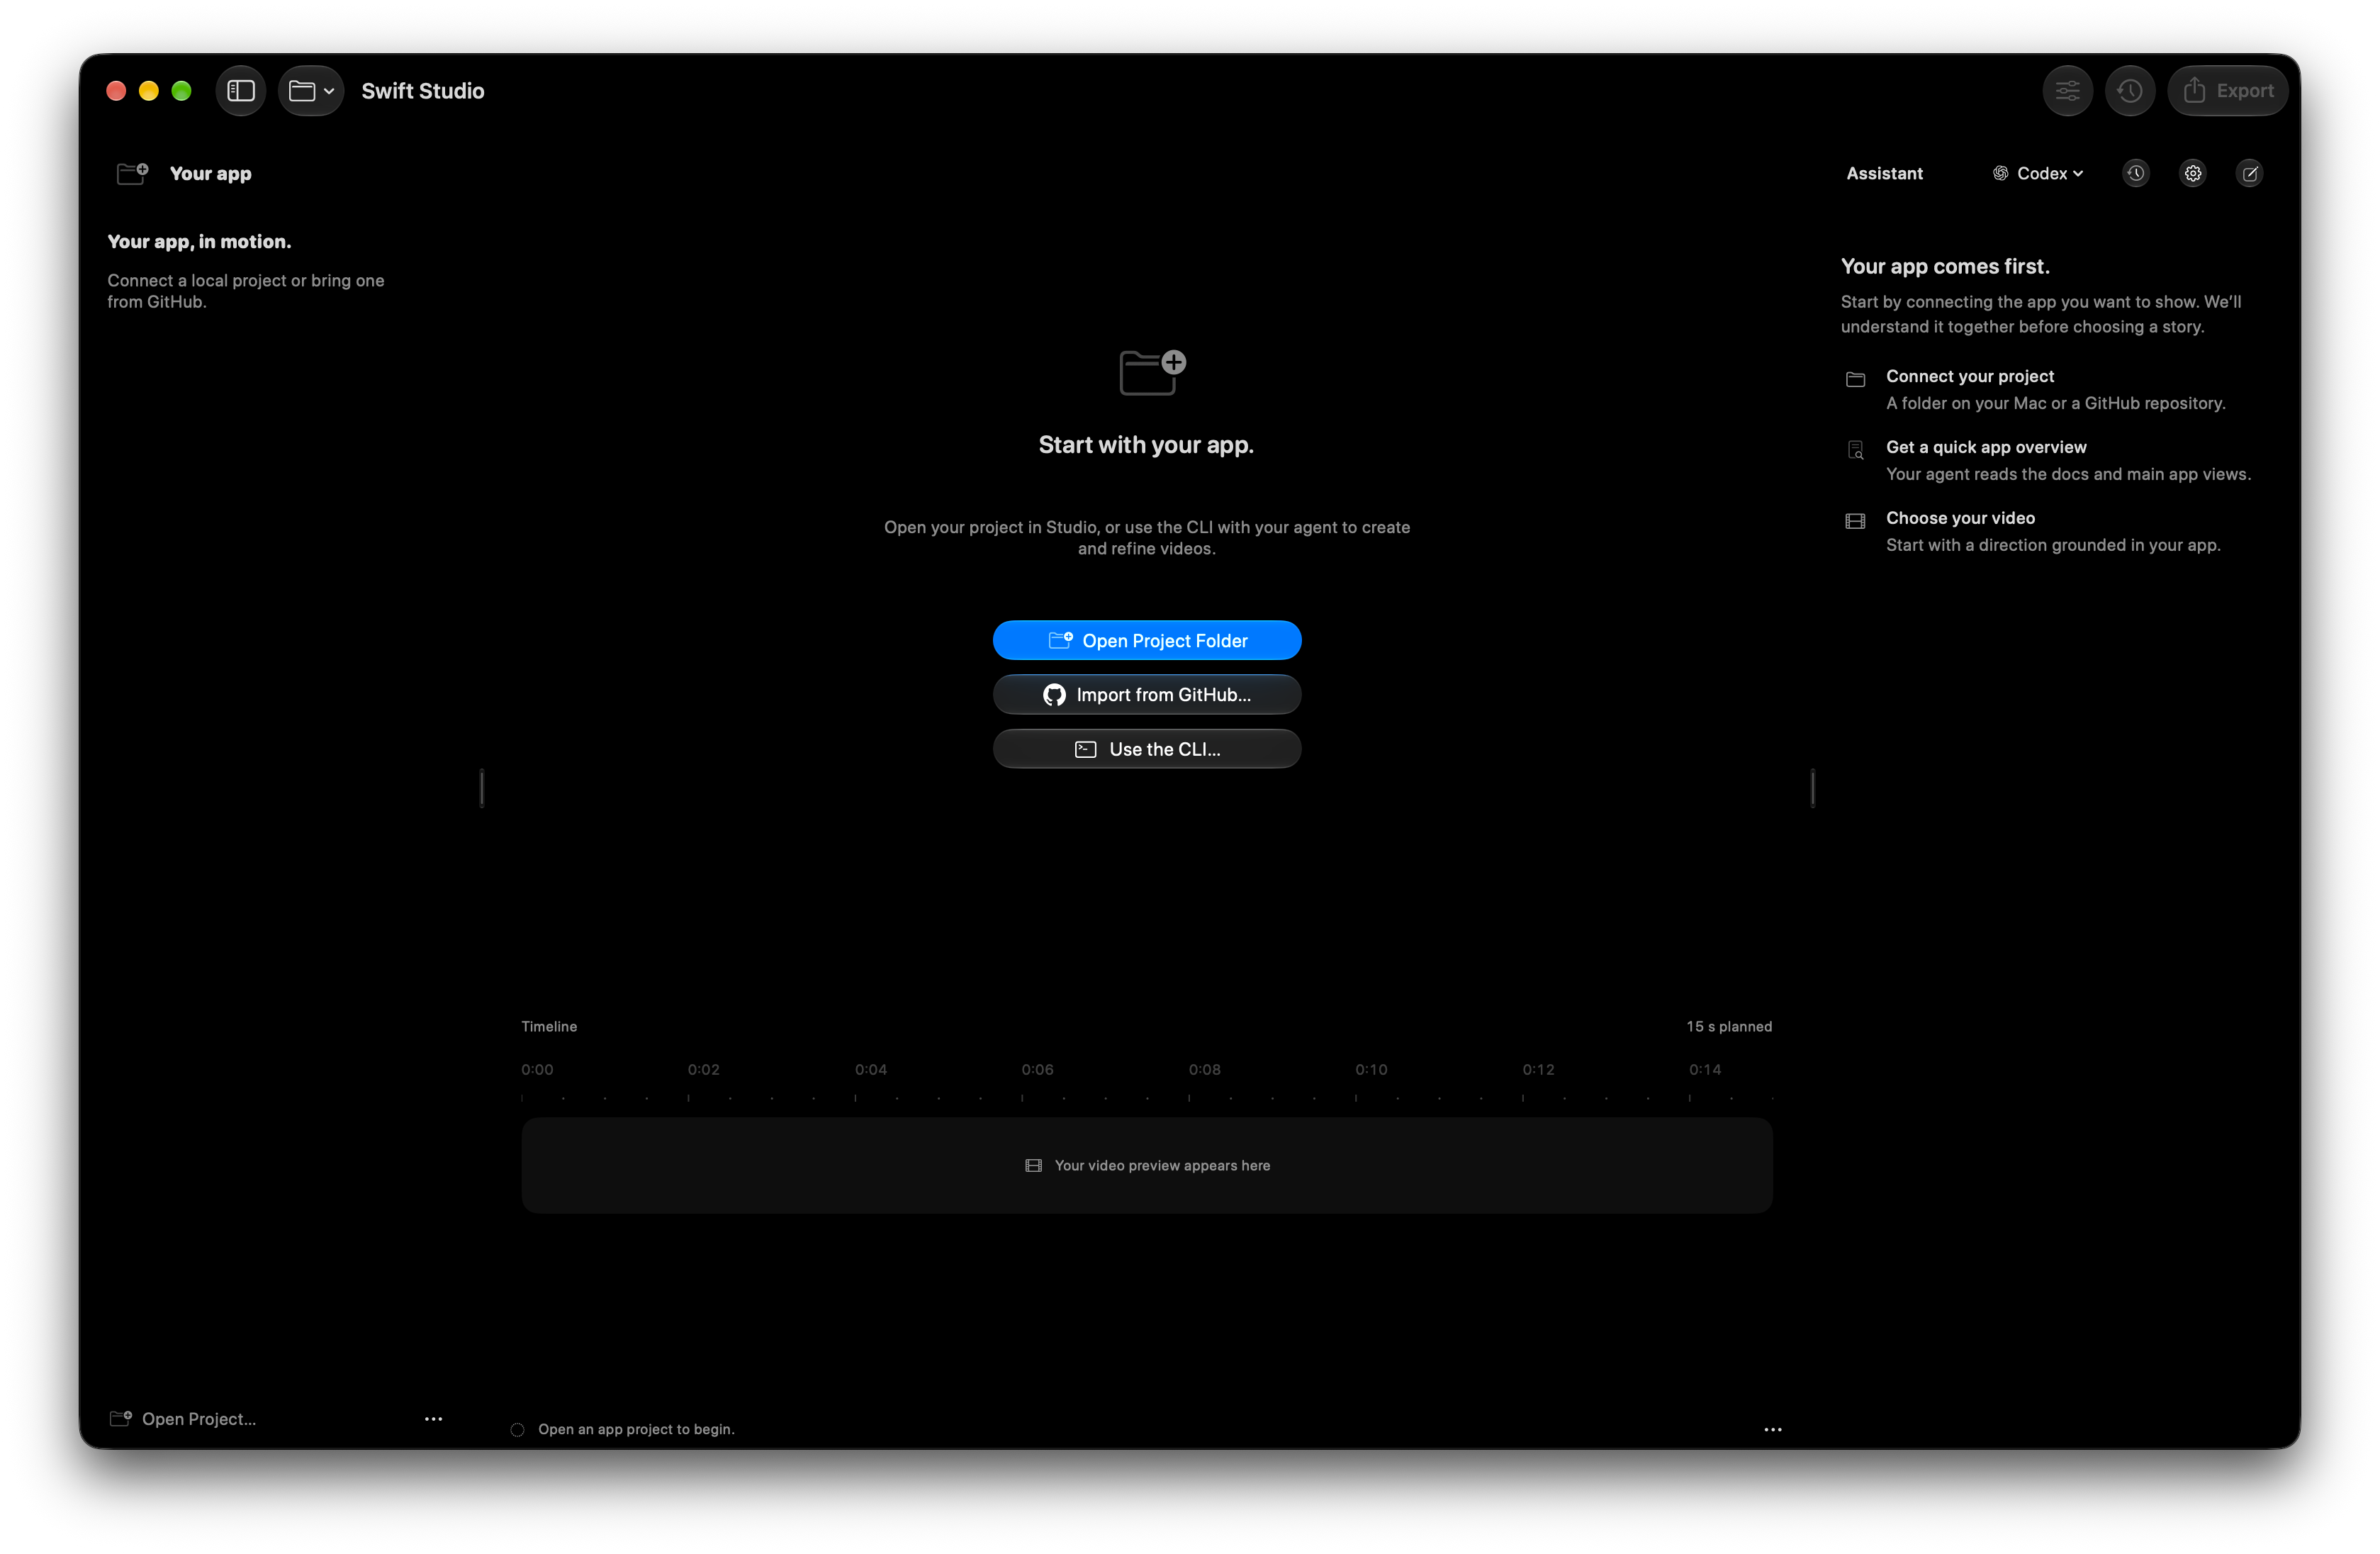
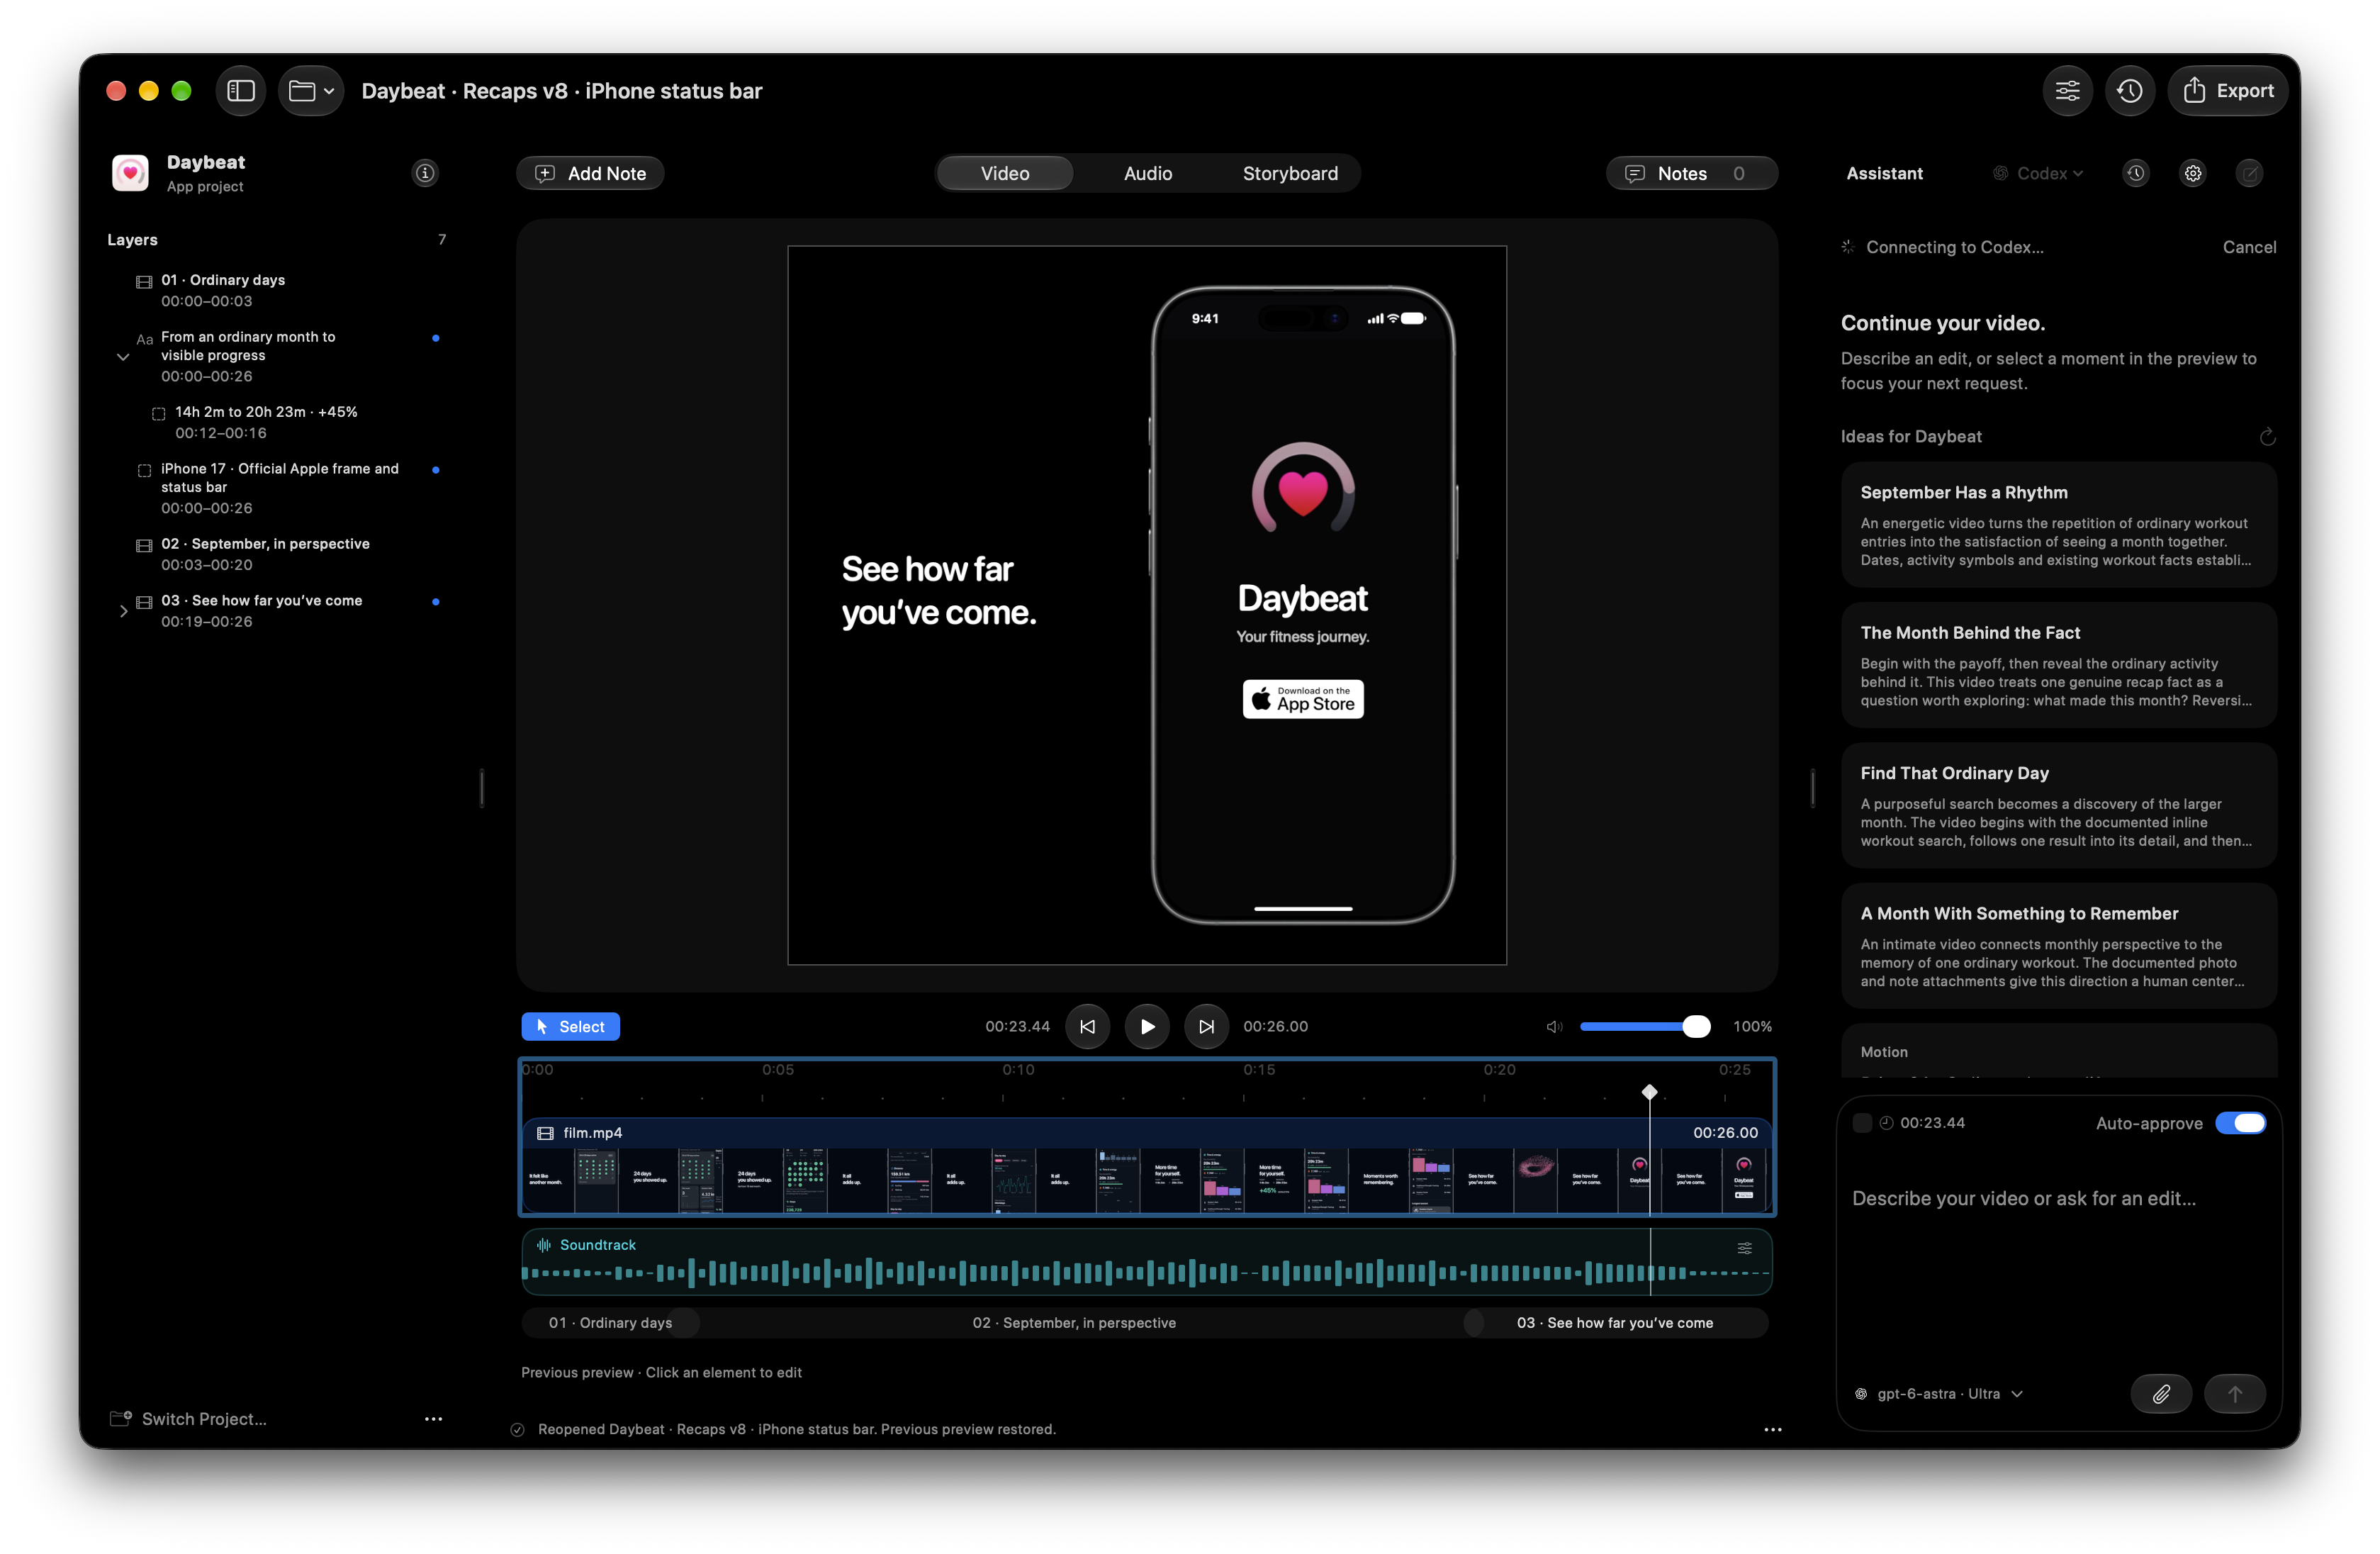
I shot this on my iPhone and edited it in Codex with GPT-6 Astra and the SwiftRender CLI. These two clips show the photo zoom, tracked finger joints, and the badge’s actual 3D mesh.
Loading video…
Couldn’t load the video. Try again.
Photo zoom · Four stills, one continuous move
Loading video…
Couldn’t load the video. Try again.
Hand tracking and the badge’s 3D mesh
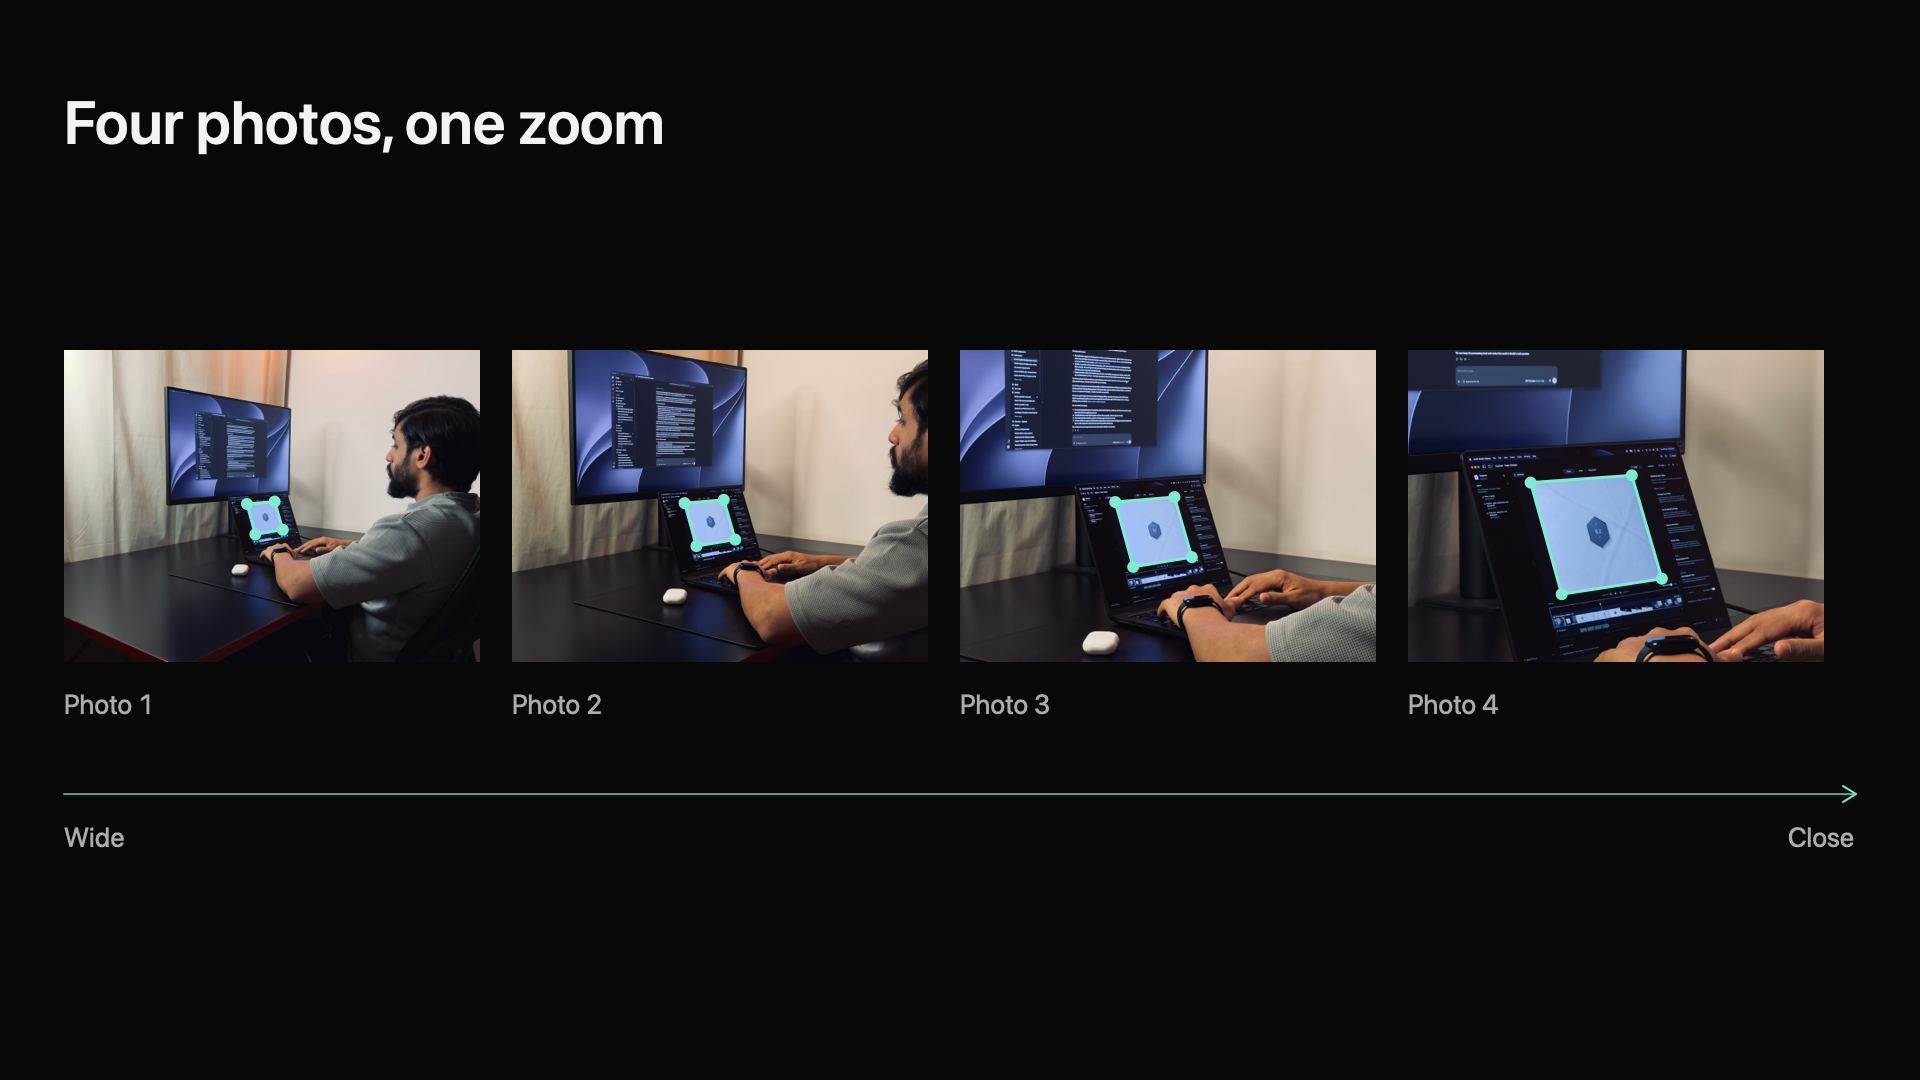
The opening uses four overlapping photos, from wide to close. I aligned the laptop’s preview corners and blended in the closer photos as the camera moved towards the screen. Matching the first frame connected the zoom to the film.
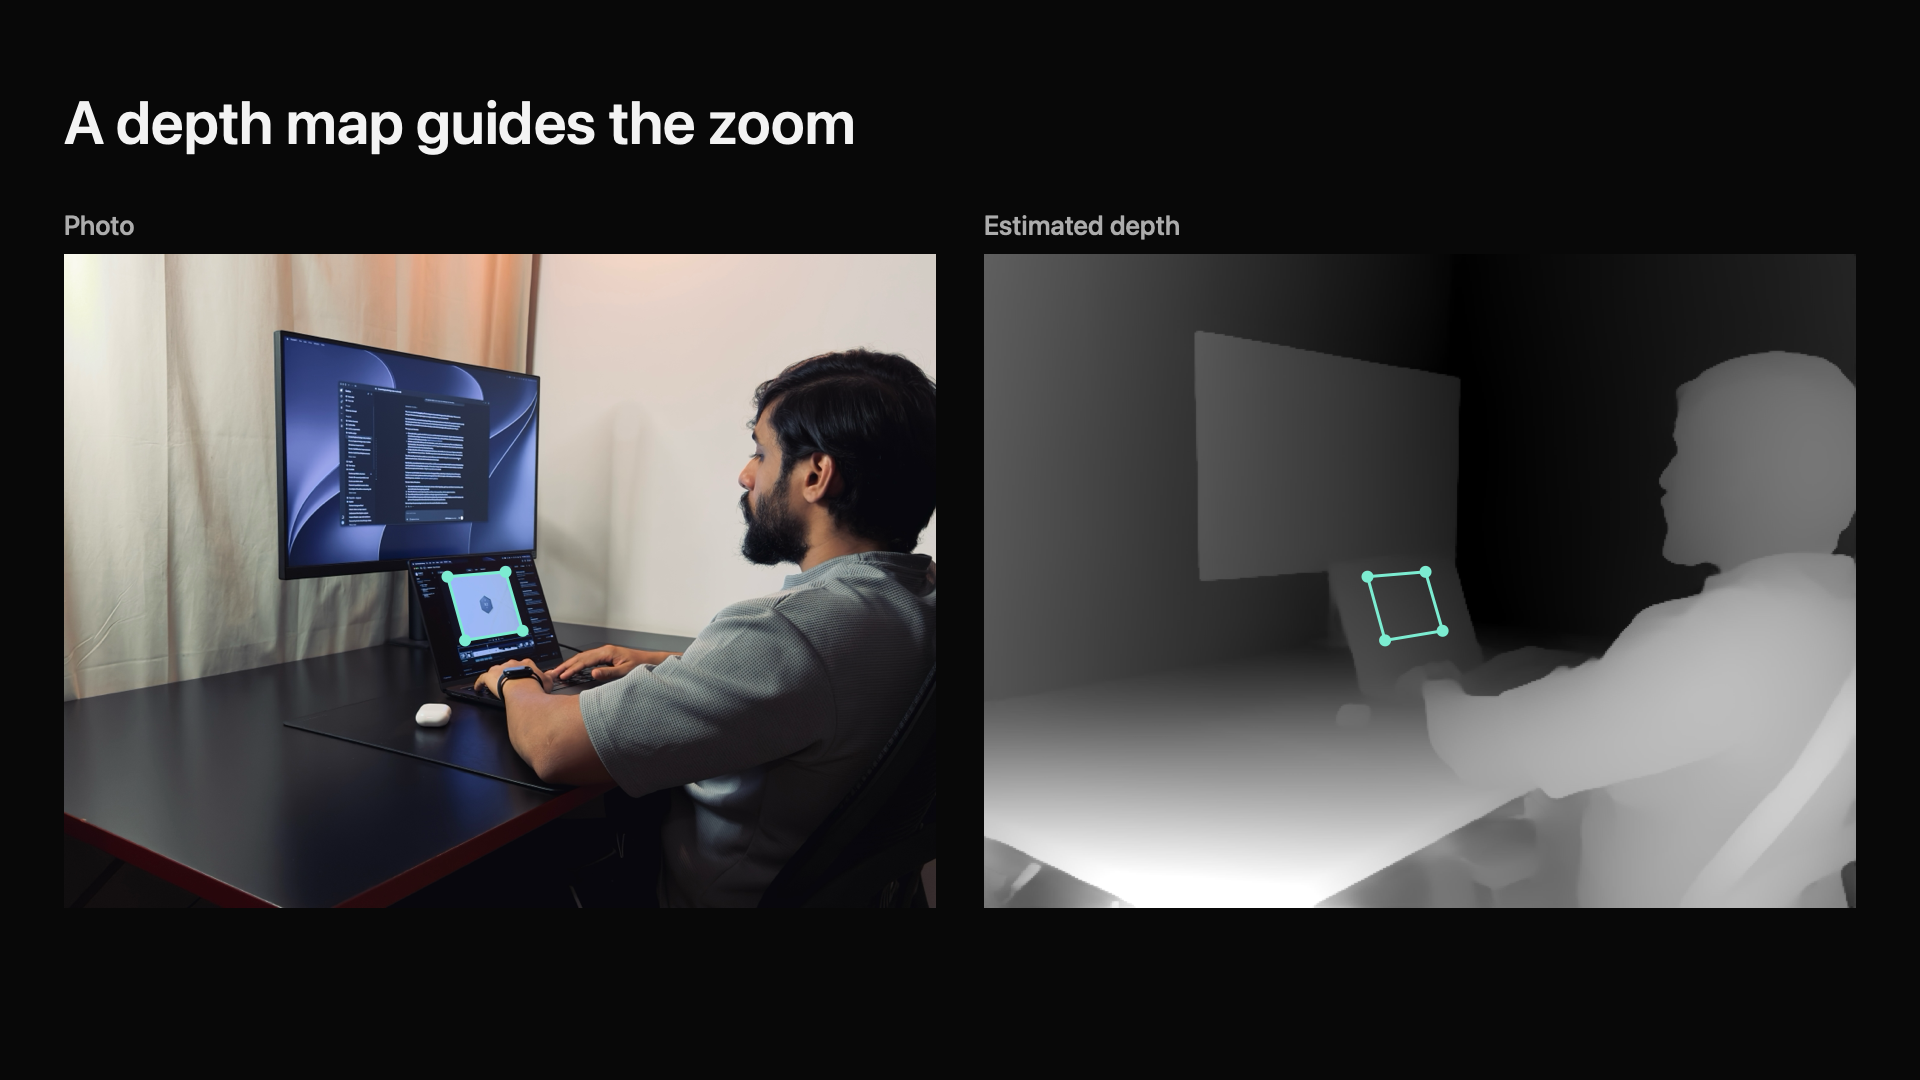
Depth Anything V2 Small ran locally through Core ML to estimate depth. Depth-assisted reprojection added subtle parallax, while optical flow aligned the photos before blending. A person mask kept my pose steady, and the laptop screen stayed rigid.
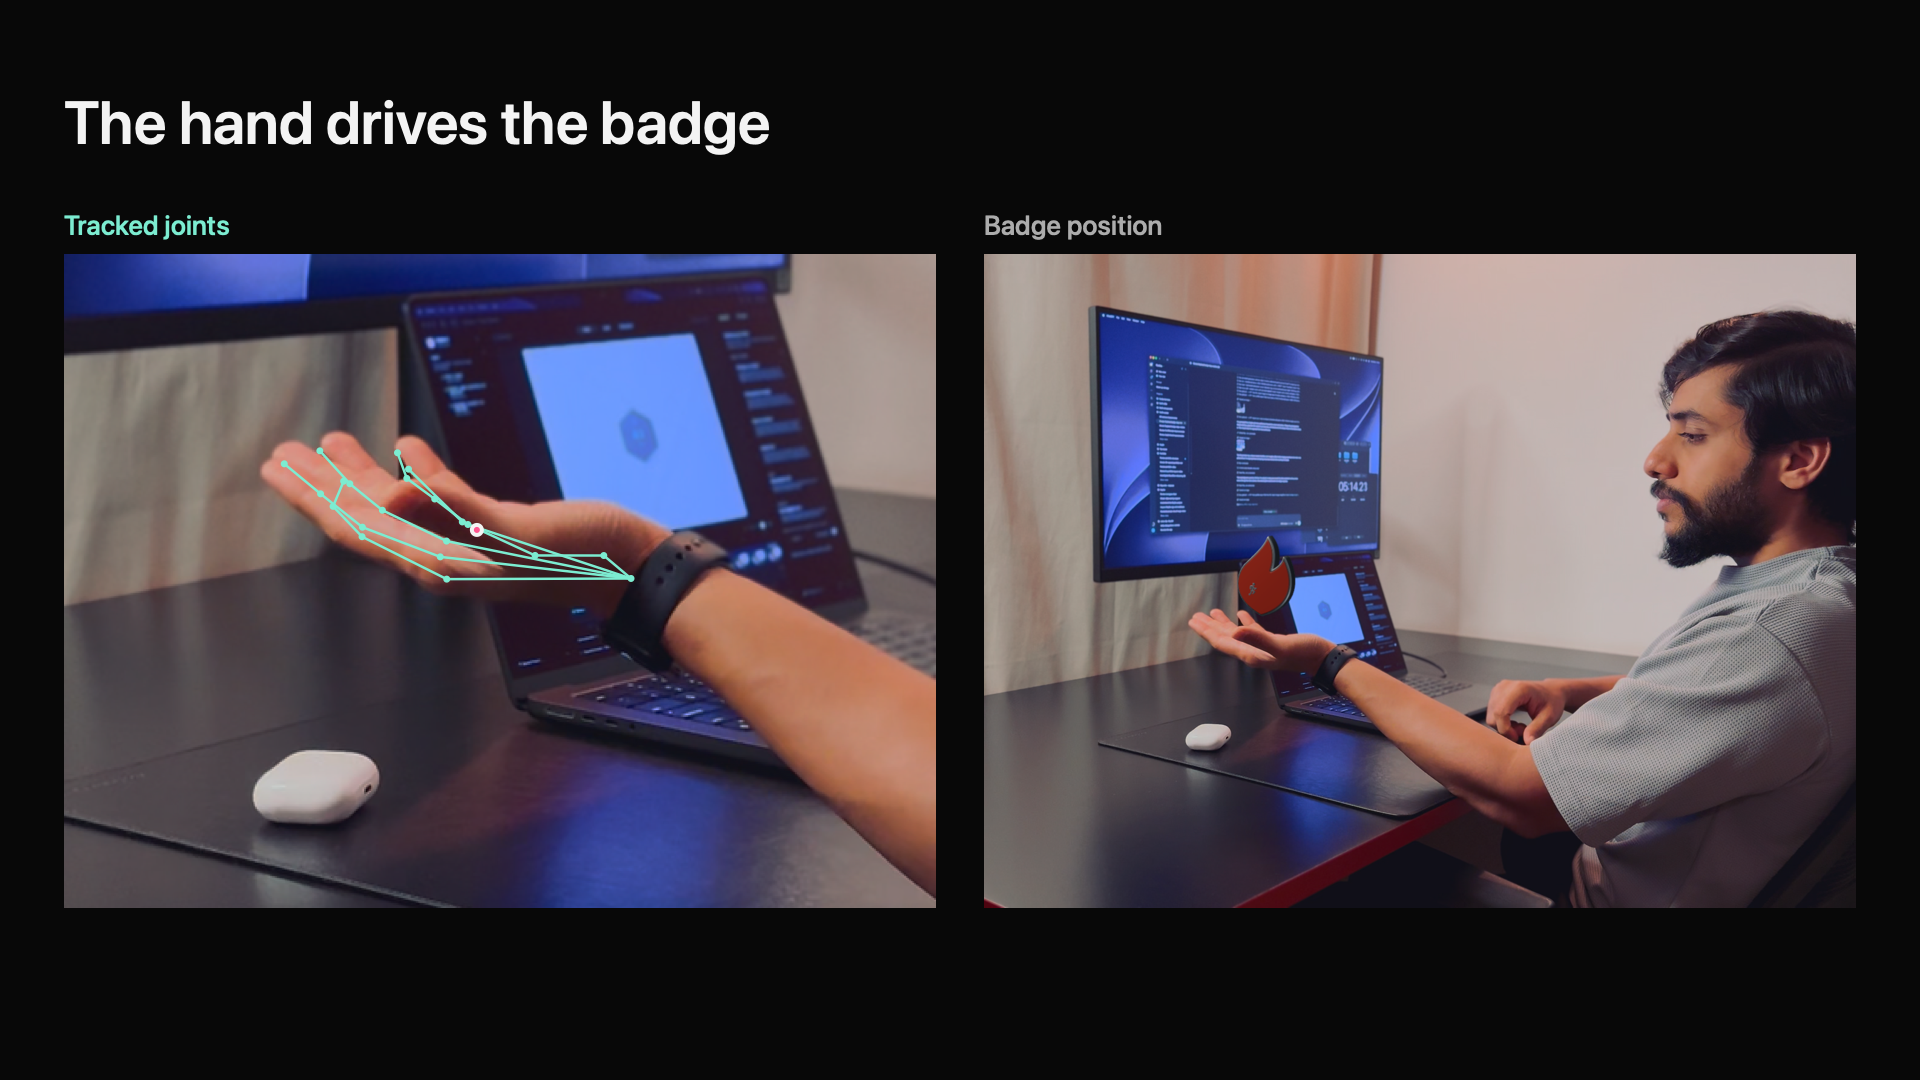
Apple Vision tracked my hand at 30 samples per second. I combined the steadier wrist and knuckle positions into a palm anchor. A separate ARKit capture helped with the desk geometry.
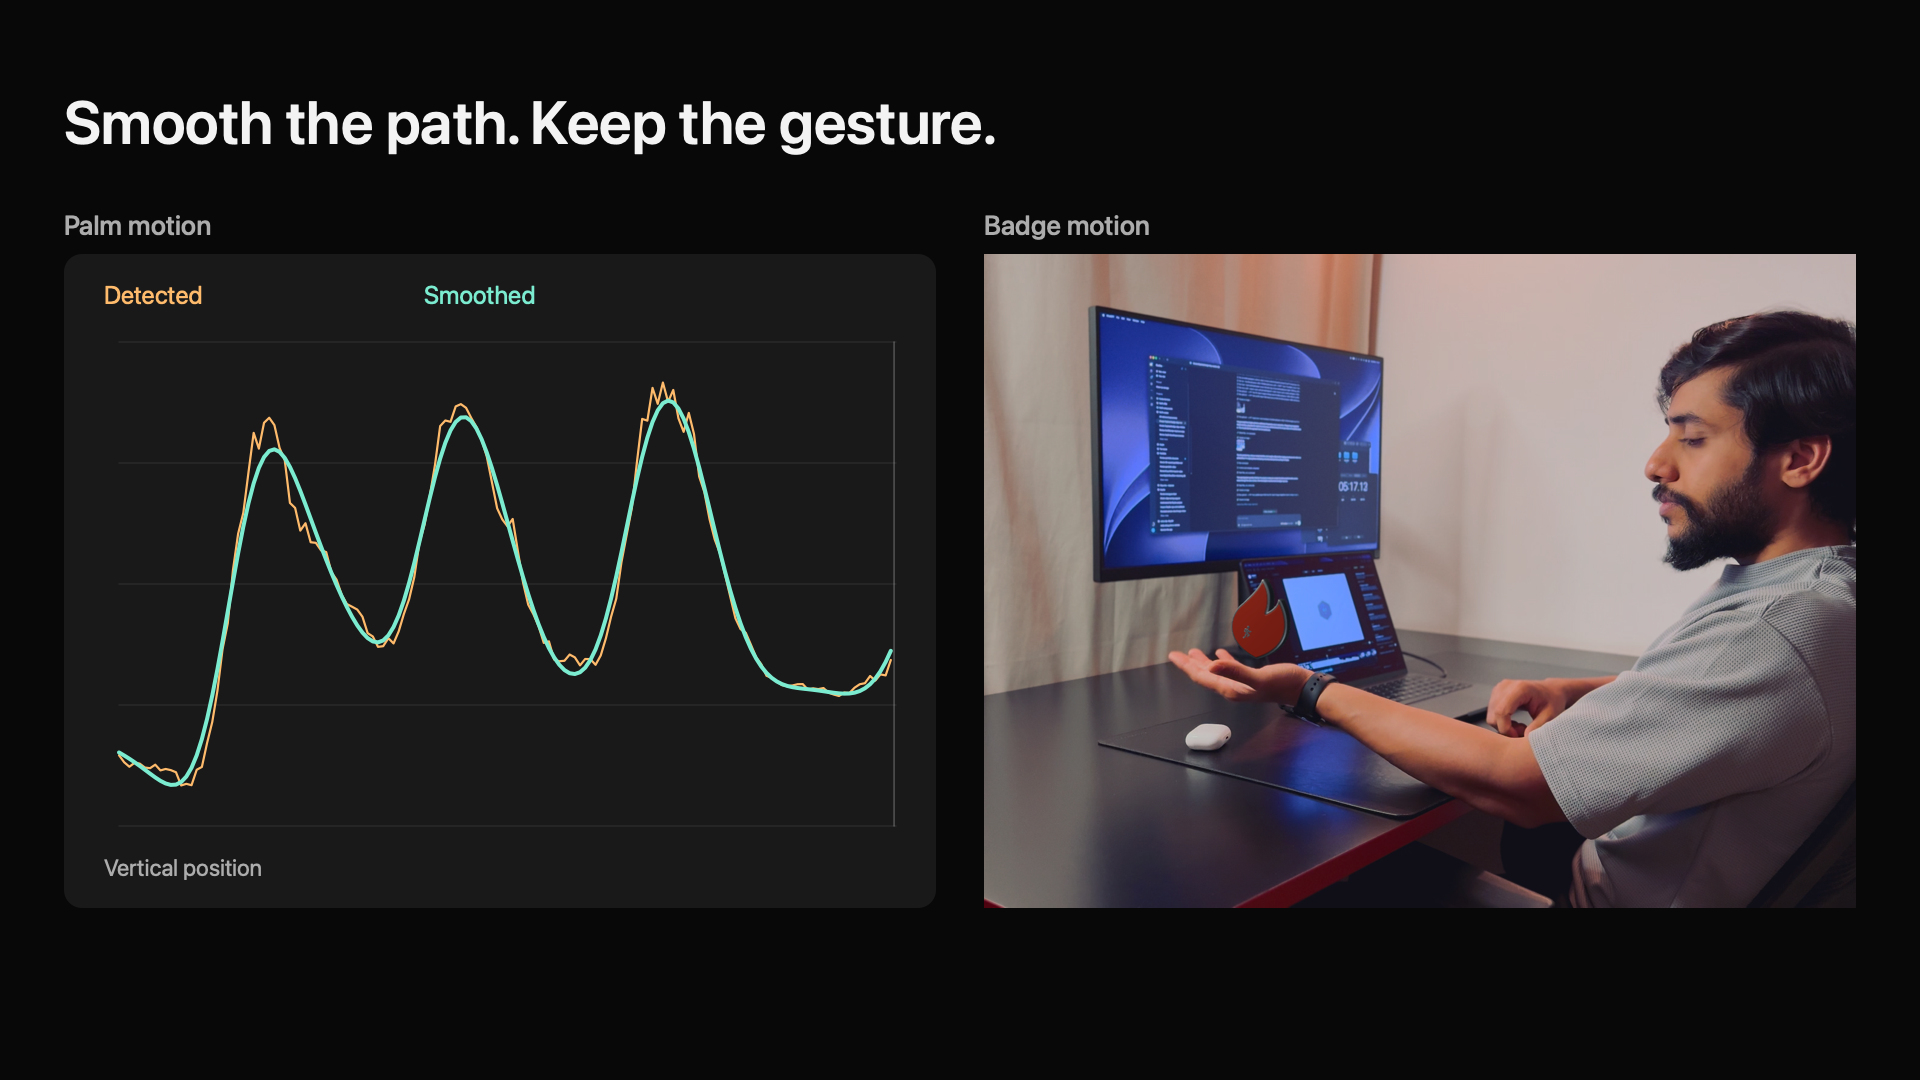
I smoothed the path across the whole gesture to reduce jitter, with a small bounce as my hand rose.
As my fingers close, the badge moves down, shrinks, and disappears behind a mask built from the hand joints. Timing it to the real gesture made the effect feel connected to the footage.
I tested three navigation patterns for one of my apps, looking at how each balances space, actions, and native behaviour.
1. Native TabView felt larger than I wanted, but it can minimise on scroll and supports one prominent action on the right.
2. A native toolbar with a custom picker loses scroll minimisation, but keeps matched transitions between tool buttons and a natural feel when dragging between tabs.
3. A custom Liquid Glass tab bar offers more control, but felt less native. Matching the system buttons and making it work well with accessibility settings took more effort.
AI video editors right now remind me a lot of Cursor back in 2024. You had a familiar IDE and were still checking the code.
It’s the same with current video editors: a familiar layout with a timeline, audio tracks, a preview, and a chat panel on the side. That makes sense for where the models are today. You still need to check the work and step in when something feels off.
We saw similar progress with coding. As the models became more reliable, tools like Codex and Claude Code started abstracting away more of the editing. You could describe what you wanted and let the agent handle more of the work.
I think that will happen with video too. We’re just not quite there yet.
But video is storytelling. Much of it comes down to how something looks, sounds, and feels when you watch it. That’s going to shape the interface differently than it did for coding.
That’s why I added a CLI to SwiftRender, so people can use it from their own Codex or Claude Code setup.
The interface lets you preview changes and keep iterating without exporting the full video after every edit.